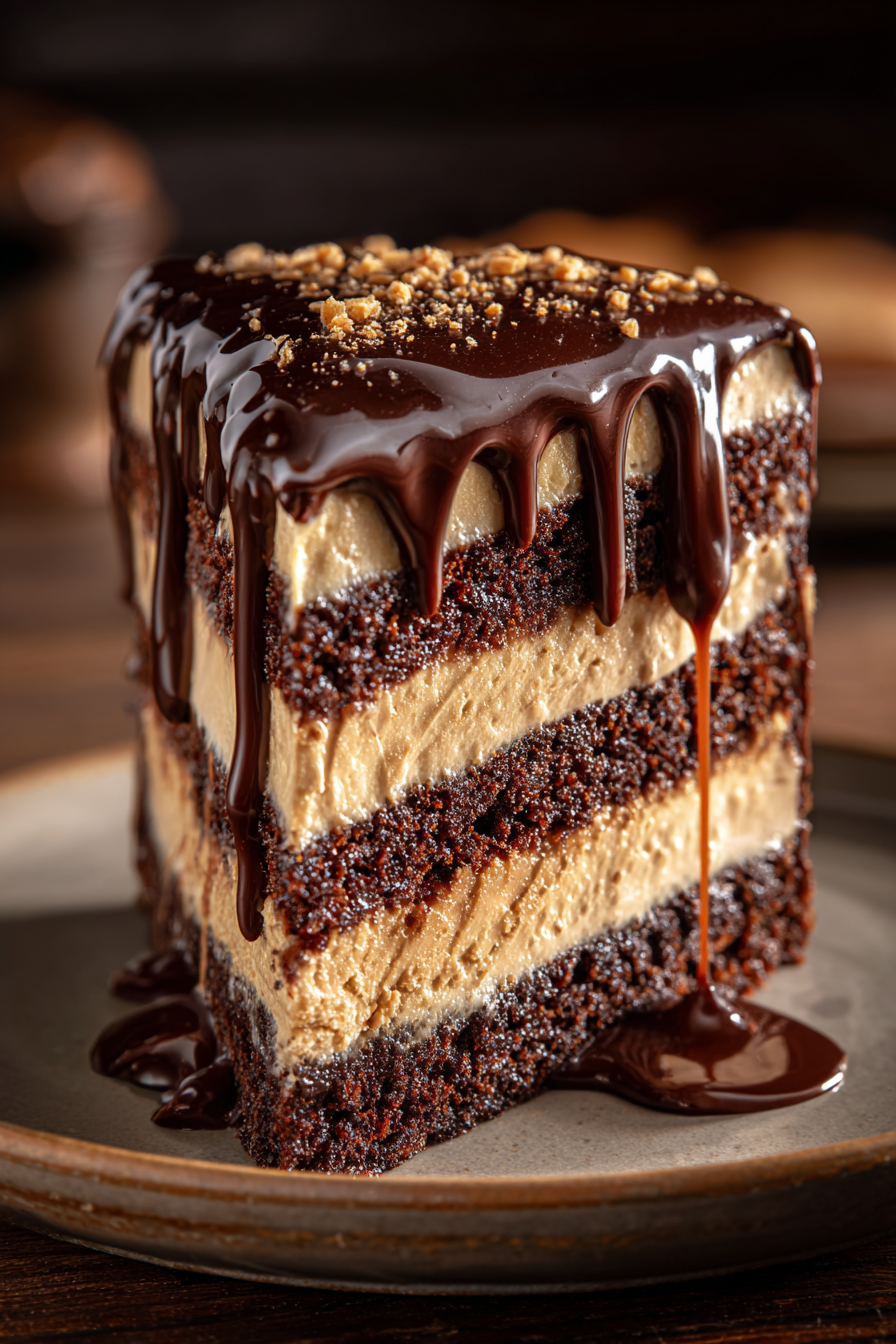
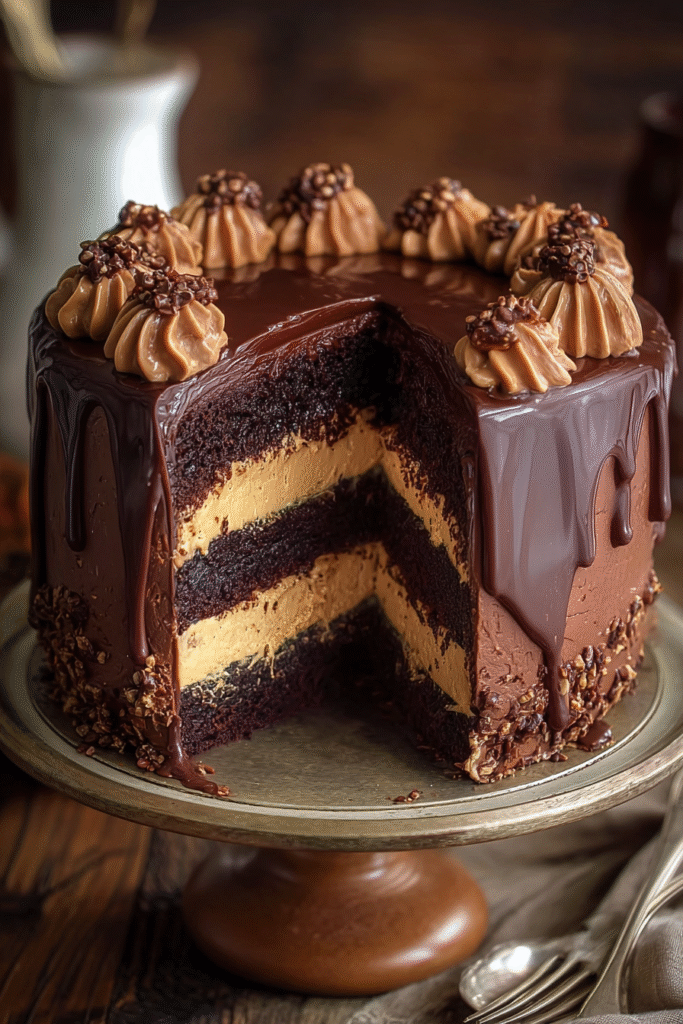
There’s something soul-soothing about baking the way Grandma did—simple ingredients, rich flavors, and that unmistakable homemade touch. One dessert that brings back sweet memories is Grandma’s Peanut Butter Chocolate Ganache Cake. It’s more than just a treat—it’s a heartfelt bite of nostalgia. This cake is a dreamy fusion of moist peanut butter cake layers, whipped cream or mousse, and a glossy, decadent chocolate ganache that drips luxuriously over the sides.
Whether it’s for birthdays, family gatherings, or just a cozy Sunday dessert, this cake turns any moment into a celebration. You’ll find tips, baking secrets, and flavor pairings passed down through generations.
Don’t miss our chocolate custard cake recipe if you’re a fan of indulgent classics.
Table of Contents
The Timeless Appeal of Grandma’s Peanut Butter Chocolate Ganache Cake
A Taste of Nostalgia in Every Bite
When you cut into a slice of this cake, it’s not just about flavor—it’s a time machine. The richness of peanut butter sponge layers paired with the shine of ganache brings back Grandma’s kitchen, filled with laughter and the scent of something sweet baking in the oven.
Why Peanut Butter and Chocolate Are the Perfect Pair
Creamy peanut butter pairs effortlessly with rich chocolate, blending savory and sweet in every bite. The combination delivers a harmony of nutty, salty, and indulgent flavors that continues to win hearts generation after generation.
Ingredients That Matter – Keeping It Simple and Sweet
Essential Ingredients for the Best Peanut Butter Cake
To make the perfect peanut butter sponge, start with:
- All-purpose flour
- Creamy peanut butter
- Brown sugar for warmth
- Buttermilk for softness
- Eggs and baking powder for structure
These staples are easy to find and combine beautifully for a moist, nutty base.
Choosing the Right Chocolate for the Ganache
The ganache is all about balance. Use semi-sweet or dark chocolate depending on your desired richness. Combine it with heavy cream and a touch of butter for that luscious finish. Bonus tip: adding a pinch of sea salt enhances the chocolate flavor.
Internal Link: Discover great ideas like this peanut butter protein oatmeal cups if you love nutty recipes with wholesome benefits.
Step-by-Step Guide to Baking the Peanut Butter Cake
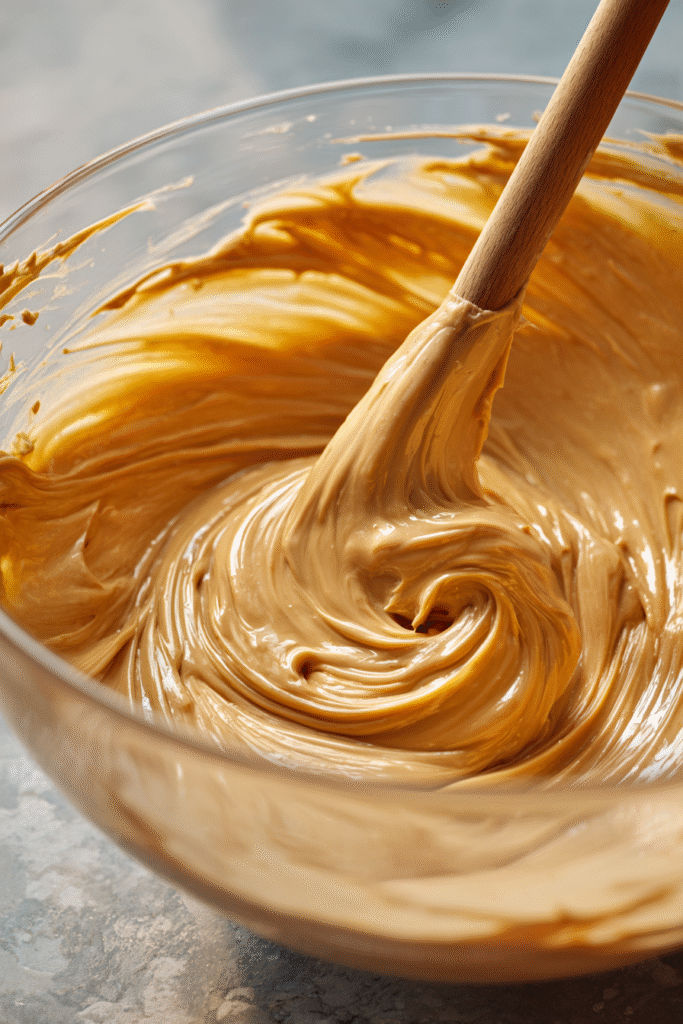
Mixing and Preparing the Batter
Begin by beating together the peanut butter, softened butter, and brown sugar until the mixture is light and fluffy. Mix in the eggs one at a time, then stir in the vanilla extract. In another bowl, whisk the flour with baking powder and a pinch of salt. Slowly incorporate the dry ingredients into the wet mixture, alternating with buttermilk. This method ensures a soft, tender batter with a light texture.
Baking Tips for a Moist Texture
- Don’t overmix: Overworking the batter can lead to dryness. Mix just until combined.
- Grease and line pans: Use parchment paper to prevent sticking.
- Check doneness: Check for doneness by inserting a toothpick into the center of the cake—it should emerge with a few moist crumbs clinging to it, but no raw batter.
Bake at 350°F for about 25-30 minutes. Let the cakes cool completely before assembling.
Making the Silky Chocolate Ganache
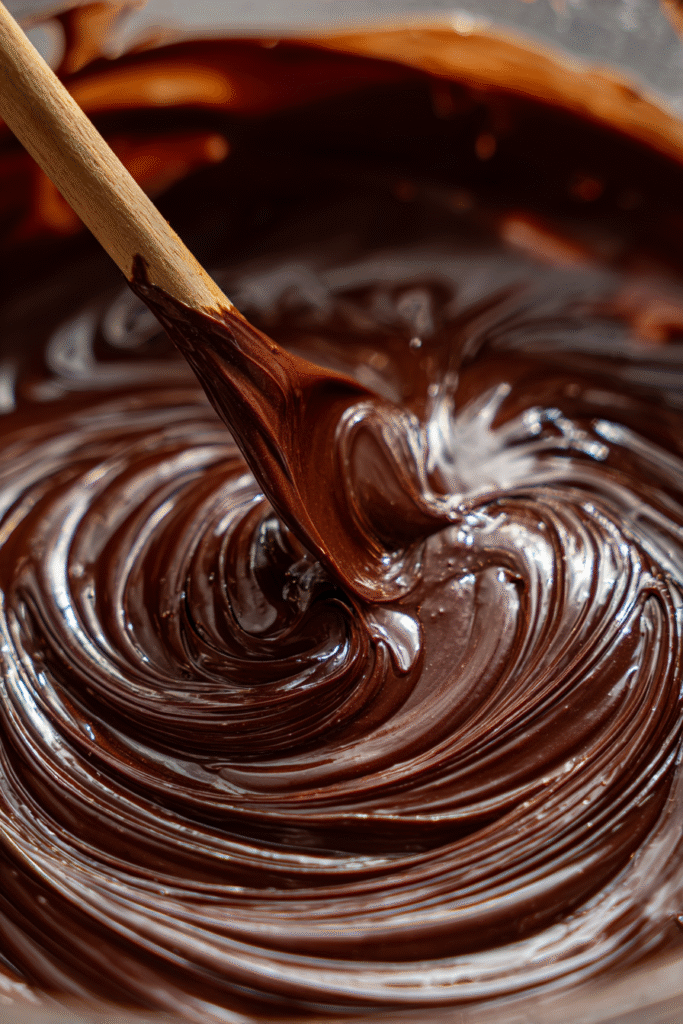
Creating the Perfect Ganache Consistency
Ganache may be simple—a blend of chopped chocolate and warm cream—but it’s the soul of this cake. Gently heat heavy cream until it’s near simmering, then pour it over the chocolate pieces. Let it rest briefly before stirring into a silky mixture. For added gloss and richness, mix in a small piece of butter at the end.
| Ratio Guide for Ganache | Purpose |
|---|---|
| 1:1 (equal parts cream & chocolate) | Pourable glaze (used here) |
| 2:1 (more chocolate) | Thicker for truffles or fillings |
| 1:2 (more cream) | Lighter whipped ganache |
How to Pour and Drip Ganache Like a Pro
Let the ganache cool until it thickens slightly. Set the chilled cake on a wire rack with a tray underneath to catch any excess. Slowly pour the ganache over the top, guiding it toward the edges so it drips down naturally. For a vintage touch, allow the glaze to flow unevenly. Chill the cake to help the ganache set firmly.
Internal Link: Looking for inspiration? Try this light fluffy yogurt cloud cake that also features an airy texture and melt-in-the-mouth experience.
Internal Link: Don’t miss our biscoff cookie butter cinnamon rolls if you love rich, nostalgic flavors with a modern twist.
Assembling the Cake Like Grandma Did
Layering for Taste and Texture
After the cake layers have completely cooled, begin assembling. Place one peanut butter cake layer on your serving plate, then spread a thick layer of whipped peanut butter frosting or mousse on top. Add the next cake layer, and if you’d like, spread a layer of chocolate mousse or buttercream for extra richness. Repeat the process, ensuring each layer offers a delicious balance of sweet, nutty, and chocolatey flavors in every bite.
Use an offset spatula to level out each filling, so the cake remains stable. After stacking, lightly press down to secure the layers.
Crumb Coating and Final Frosting
Before adding the ganache, spread a thin layer of frosting over the entire cake to catch any loose crumbs. Place the cake in the fridge for 15 to 20 minutes to let the crumb coat firm up. Once chilled, cover the cake with a smooth, even layer of peanut butter frosting. This provides a clean, stable base for the ganache to adhere to without soaking in.
Classic Variations to Suit Every Occasion
Making It Nut-Free for Allergies
Peanut butter can be swapped for sunflower seed butter or cookie butter if there’s a nut allergy in the family. These versions still offer a rich, creamy flavor and hold up beautifully with the ganache.
| Substitute | Flavor Profile | Texture |
|---|---|---|
| Sunflower seed butter | Slightly earthy | Creamy, spreads well |
| Cookie butter | Sweet and spiced | Very smooth and thick |
Turning It into Cupcakes or a Sheet Cake
If you want a crowd-friendly version, this recipe easily adapts into:
- Cupcakes: Bake for 18–20 minutes. Top with piped ganache swirls.
- Sheet Cake: Use a 9×13 pan, frost in layers or top with ganache only.
These versions are ideal for potlucks, bake sales, and birthdays.
Internal Link: Discover great ideas like this apple pie ice cream delight for another nostalgic, comfort-filled dessert.
Internal Link: Learn more about the difference between a butter cake and a sponge cake to choose the right texture for your base.
Storage, Serving & Freezing Tips
How to Store for Maximum Freshness
Once your peanut butter chocolate ganache cake is assembled, keep it refrigerated in an airtight container. Because of the ganache and frosting, the cake stays moist for up to 5 days. Before serving, let it sit at room temperature for 30 minutes to soften the ganache and enhance flavors.
| Storage Method | Duration | Notes |
|---|---|---|
| Refrigerated (airtight) | 4–5 days | Best texture when brought to room temp before eating |
| Freezer (sliced & wrapped) | Up to 2 months | Wrap individual slices tightly with plastic and foil |
How to Freeze Without Losing Texture
To freeze, wrap individual slices in plastic wrap and then foil. Label with the date. When ready to enjoy, thaw in the refrigerator overnight. The frosting may need a quick whip for texture, but the cake layers remain delicious.
Perfect Pairings for an Old-Fashioned Dessert
Beverage Pairings: Coffee, Milk & More
A rich cake like this deserves the perfect drink. Here’s what pairs beautifully:
- Classic black coffee: Balances the sweetness
- Cold milk: The traditional go-to for creamy contrast
- Espresso or mocha: Elevates the chocolate depth
For kids, a chilled glass of chocolate milk or vanilla milkshake adds a fun twist.
Side Dishes and Toppings to Elevate the Experience
To make the cake even more indulgent, serve it with:
- A scoop of vanilla bean ice cream
- A dollop of lightly whipped cream
- Salted caramel drizzle
- Fresh strawberries or bananas for a fruity balance
These small additions transform a nostalgic cake into a show-stopping dessert plate.
Internal Link: Don’t miss our guide on how to keep brownies soft and chewy—many of the same storage principles apply to this cake too.
Internal Link: Check out our deliciously unique what is a brookie made of if you love mixing dessert classics with a twist.
Bringing Grandma’s Touch Back to the Kitchen
Baking with Love and Tradition
More than just a dessert, Grandma’s Peanut Butter Chocolate Ganache Cake is a celebration of warmth, memory, and simplicity. It brings generations together through flavor. Baking this cake is about reviving those precious kitchen moments—flour on the apron, the scent of roasted peanuts, and chocolate dripping slowly over a homemade masterpiece.
Tips for Sharing and Gifting This Cake
- Wrap slices in parchment and twine for a vintage homemade gift.
- Add a handwritten note with the recipe for a personal touch.
- Use a cake carrier with a ribbon to bring it to potlucks or family dinners.
Whether you’re baking for comfort, celebration, or connection, this cake reminds everyone of home—and that’s the true magic of Grandma’s recipe.
For more recipes follow me in Facebook and instagram .
Frequently Asked Questions (FAQs)
Can I make peanut butter chocolate ganache cake ahead of time?
Yes, you can bake the cake layers 1–2 days in advance. Store them wrapped in plastic in the fridge. Assemble the day you plan to serve for optimal freshness.
What type of peanut butter works best for baking?
Use creamy, no-stir peanut butter (like Jif or Skippy). Natural peanut butter separates and may affect the texture.
How do I prevent ganache from seizing?
Use warm cream—not boiling. Stir gently. If the ganache splits, add a tablespoon of warm milk and whisk slowly.
Can I use boxed cake mix for this recipe?
Absolutely! Choose a yellow or chocolate mix and add ½ cup of peanut butter to the batter for a shortcut with homemade flavor.
Is there a way to make this cake gluten-free?
Yes! Swap all-purpose flour for a 1:1 gluten-free baking blend. Check that your peanut butter and chocolate are also certified gluten-free.
Why does my ganache not drip smoothly?
If it’s too thick, warm it slightly. If too thin, let it cool 5–10 minutes before pouring. Test the drip on the back of a spoon first.
Grandma’s Peanut Butter Chocolate Ganache Cake
- Total Time: 60 minutes
- Yield: 12 servings 1x
Description
Bring back comforting memories with this classic peanut butter chocolate ganache cake. Moist, rich, and layered with creamy peanut butter and smooth chocolate ganache—just like Grandma used to make. Perfect for birthdays, holidays, or any time you’re craving a nostalgic dessert.
Ingredients
For the Peanut Butter Cake:
- 2 cups all-purpose flour
- 1 cup brown sugar (packed)
- 1 cup creamy peanut butter
- ½ cup unsalted butter, softened
- 1 cup buttermilk (room temperature)
- 3 large eggs
- 1½ tsp baking powder
- ½ tsp salt
- 1 tsp vanilla extract
For the Chocolate Ganache:
- 8 oz semi-sweet chocolate (chopped)
- 1 cup heavy cream
- 1 tbsp unsalted butter
- Pinch of sea salt (optional)
Instructions
- Preheat oven to 350°F (175°C). Grease and line two 8-inch round cake pans with parchment paper.
- Cream peanut butter, butter, and brown sugar until light and fluffy (about 3 minutes).
- Add eggs one at a time, mixing well after each. Stir in vanilla extract.
- In a separate bowl, sift together flour, baking powder, and salt.
- Alternate adding dry ingredients and buttermilk to the wet mixture, beginning and ending with dry ingredients. Mix until just combined—do not overmix.
- Divide the batter evenly between the prepared pans and bake for 25–30 minutes, or until a toothpick inserted comes out clean.
- Let cakes cool in pans for 10 minutes, then transfer to a wire rack to cool completely.
- Make the ganache: In a heatproof bowl, add chopped chocolate. Heat the heavy cream in a saucepan until just simmering, then pour it over the chocolate. Let sit for 2 minutes, then stir until smooth. Add butter and optional sea salt, stir until glossy.
- Assemble the cake: Place one cake layer on a plate. Add a layer of frosting or peanut butter mousse if using. Top with second cake layer.
- Pour ganache over the top, letting it drip down the sides. Chill for 15–20 minutes to set before slicing.
Notes
- For a nut-free version, use sunflower seed butter.
- Cake layers can be made 1–2 days in advance and refrigerated.
- To freeze: wrap individual slices and store for up to 2 months.
- For cupcakes, bake in liners for 18–20 minutes.
- Serve with vanilla ice cream or coffee for a perfect pairing.
- Prep Time: 35 minutes
- Cook Time: 25 minutes
- Category: Dessert
- Method: Baking
- Cuisine: American
Nutrition
- Serving Size: 1 slice
- Calories: 490
- Sugar: 27g
- Sodium: 260mg
- Fat: 30g
- Saturated Fat: 12g
- Unsaturated Fat: 15g
- Trans Fat: 0g
- Carbohydrates: 44g
- Fiber: 2g
- Protein: 7g
- Cholesterol: 70mg