Understanding Shank Meat
What is Shank?
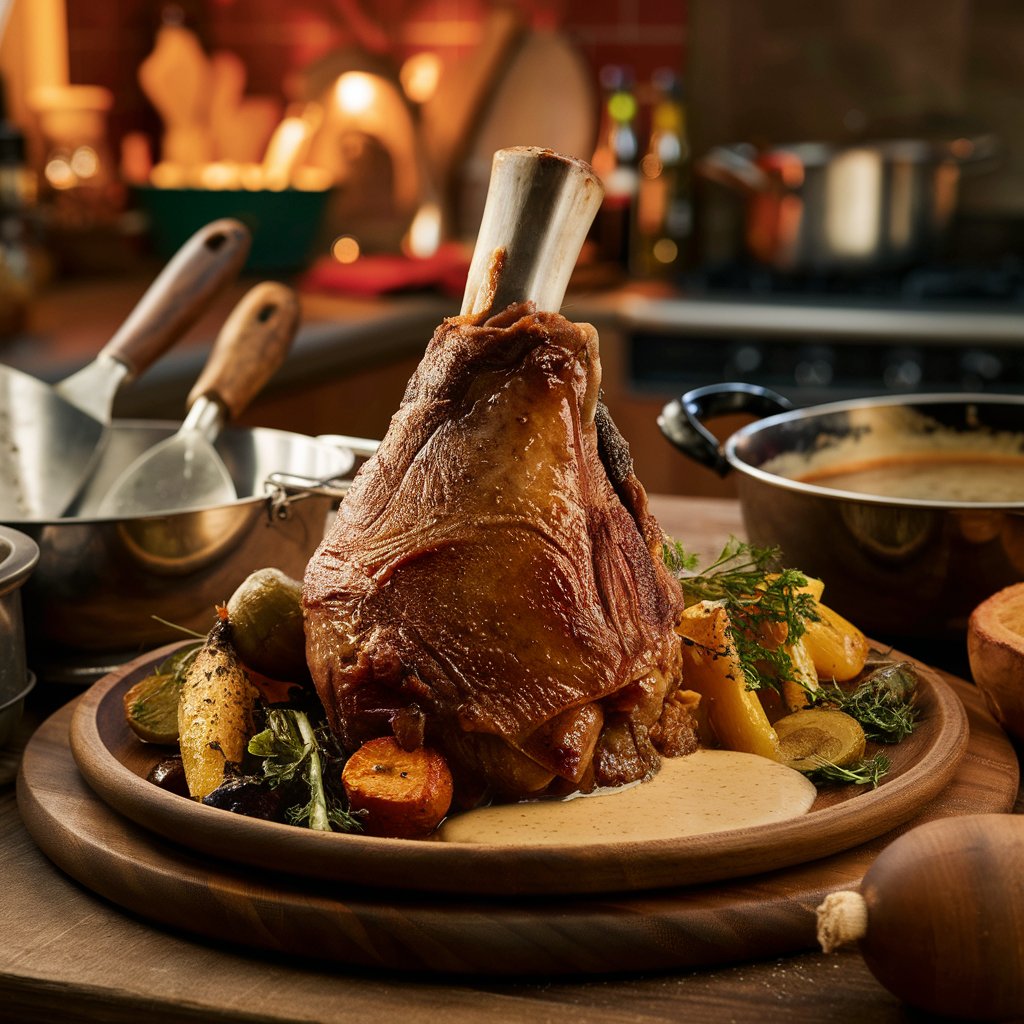
Shank refers to the part of the meat cut from the lower leg of an animal. Known for its dense connective tissues, shank presents a challenge. However, when cooked correctly, it rewards you with incredible depth of flavor and tenderness. The secret to mastering shank lies in slow-cooking methods. These help break down the tough fibers, transforming them into a succulent feast.
Culinary Uses of Shank
Around the world, shank is cherished in many traditional dishes. It’s not only economical but also versatile, making it perfect for slow-cooked meals like stews and braises. During cooking, the rich marrow and collagen release into the sauces, adding a layer of complexity and richness to the dish that’s hard to match with other cuts.
The culinary appeal of shank stretches across various cuisines, from the Italian Osso Buco to the comforting American beef stew. By utilizing the top cooking techniques for shank, chefs and home cooks can unleash the potential of this cut. This ensures a hearty and satisfying meal. Which Cooking Method is Best for a Chuck Roast?
Stay tuned, as we will delve deeper into the most effective ways to cook shank in Part 2. There, we focus on why braising stands out as the ideal method for this specific cut of meat.
Why Braising is Ideal for Shank
Benefits of Braising Shank
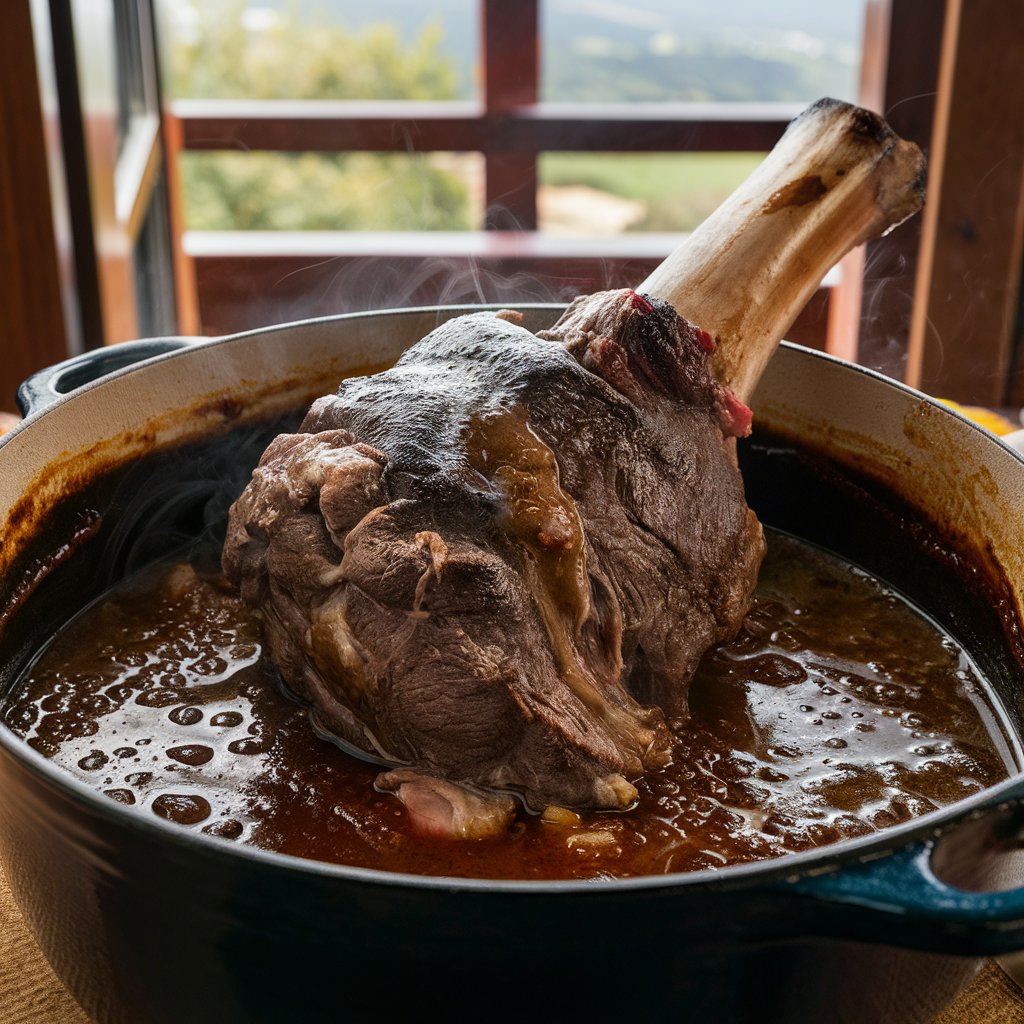
Braising is a cooking process that combines both wet and dry heats. You start by searing the meat at a high temperature, then finish it slowly in a covered pot at a lower temperature while it sits in some liquid. This method is particularly suited for meat cuts like shank, which are rich in connective tissues.
First off, braising softens the tough fibers of the shank, thanks to the lengthy cooking time at low heat. This process allows the meat to become exceptionally tender. Additionally, the liquid used in braising not only keeps the meat moist but also enhances its flavor as it slowly absorbs the aromas of herbs and seasoning.
Steps to Braising Shank
- Preparing the Shank: Initiate the process by liberally seasoning the shank with salt and a mix of select spices. This initial step is pivotal in amplifying the inherent flavors of the meat.
Searing the Shank: Warm a bit of oil in a sturdy skillet, and thoroughly brown the shank on all sides. This essential phase seals in the savory tastes and imparts a deep, appealing color to the dish.
Choosing the Right Cooking Environment
It’s essential to maintain a low and consistent temperature during braising, which can be achieved in an oven or on a stovetop. The slow cooking process allows the fibers in the shank to gradually break down, resulting in meat that falls off the bone.
Final Touches
After the shank has become tender, giving it time to rest before serving is crucial. This resting period helps the juices to settle back into the meat, making each bite irresistibly juicy. Present the shank accompanied by the enriched braising sauce, now transformed into a savory gravy brimming with flavors from the collagen released during cooking.
In the next part, we’ll provide a detailed step-by-step guide to preparing shank for cooking, focusing on seasoning and marinating tips that enhance the meat’s flavor before it goes into the braise.

Preparing Shank for Cooking
Selecting and Prepping the Shank
Selecting an optimal shank is essential for a perfectly braised dish. Aim for cuts that display a rich marbling of fat and exhibit a vibrant, deep red hue. These characteristics not only signal the meat’s freshness but also guarantee that it will be succulent and bursting with flavor once cooked.
Marinating the Shank
Marinating the shank can add layers of flavor and help tenderize the meat further. Here’s how to create a simple yet effective marinade:
- Basic Ingredients: Combine olive oil, garlic, and fresh herbs like thyme and rosemary. These ingredients infuse the shank with rich flavors and aromas.
- Applying the Marinade: Rub the marinade thoroughly over the shank. Ensure every part is well-coated.
- Resting Time: Allow the shank to marinate in the refrigerator for at least a few hours or, ideally, overnight. This step ensures that the flavors penetrate deeply into the meat.
Seasoning Techniques
Before cooking, seasoning the shank properly is essential:
- Salt and Pepper: Generously season with salt and pepper to enhance the natural flavors of the meat.
- Drying the Shank: Pat the meat dry before searing. Removing excess moisture helps achieve a better sear in the pan, which translates to more flavor in the finished dish.
Searing for Flavor
Searing the shank is a step you don’t want to skip:
- High Heat: Use a high heat to start with a hot pan. This ensures a good sear that caramelizes the surface of the meat, providing a base layer of flavor.
- Turning the Meat: Make sure to turn the shank so all sides are evenly browned. This not only improves flavor but also gives the shank an appetizing appearance.
In the upcoming section, we’ll dive into the braising process itself. We’ll offer a detailed, step-by-step recipe that walks you through how to braise the shank for optimum tenderness and taste.
Braising Beef Shank – A Recipe Walkthrough
Ingredients and Tools Needed
To braise a beef shank perfectly, you’ll need the following ingredients:
- Beef shanks
- Olive oil
- Fresh herbs (thyme, rosemary)
- Garlic
- Onions, carrots, and celery
- Low-sodium beef broth
-
Select your preferred vegetables, such as earthy mushrooms or crisp bell peppers, to enhance the dish.
You’ll also need a heavy pot or Dutch oven, suitable for both stovetop and oven use, to handle the braising process. For readers interested in exploring different recipes involving shank, refer to the detailed post on How to Prepare and Cook Beef Shank, which provides a comprehensive guide on handling this specific cut of meat.
Preparing the Shank for Braising
- Heating the Pot: Start by heating your pot over medium-high heat and adding olive oil.
- Searing the Meat: Once the oil is hot, add the shank. Sear each side until golden brown, which typically takes about 3-4 minutes per side.
- Sauteing Vegetables: Remove the shank and add onions, carrots, and celery to the pot. Cook until they begin to soften, which helps build the base flavor for the braise.
Creating the Braising Liquid
- Adding Garlic and Herbs: After the vegetables have softened, add minced garlic and chopped herbs. Cook for an additional minute until fragrant.
-
Deglazing the Pan: Add a splash of beef broth to the pan to deglaze, meticulously scraping up the caramelized bits from the bottom. These flavorful morsels will significantly enhance the richness of the braising liquid.
- Combining Ingredients: Return the shank to the pot and add any remaining broth along with your additional vegetables.
The Braising Process
- Simmering: Bring the liquid to a simmer, then cover the pot with a tight-fitting lid.
- Oven Transition: Transfer the covered pot into a preheated oven set to a low temperature (around 325°F). This ensures even cooking and allows the meat to tenderize without drying out.
- Cooking Time: Braise in the oven for about 2-3 hours, or until the shank is fork-tender.
Finishing the Dish
- Resting the Meat: Once the shank is tender, remove the pot from the oven and let it rest for about 10 minutes before serving. This resting period helps the meat reabsorb some of the juices, making it even more succulent.
- Serving: Serve the shank with the rich, flavorful braising liquid and the softened vegetables. It pairs wonderfully with mashed potatoes or polenta, which can soak up the delicious sauce.
In the next part of our guide, we’ll cover some frequently asked questions about cooking shank, providing you with expert tips to handle common challenges and ensure your dishes turn out perfectly every time.
Expert Techniques for Perfecting Shank Dishes
Maximizing Flavor with Marinades
Marinating the shank can significantly enhance its flavor and tenderness. Try a variety of marinades, incorporating acidic elements like citrus juice or vinegar blended with aromatic herbs. For best results, let the shank marinate overnight, allowing the flavors to deeply infuse the meat.
Using Aromatics to Build Flavor
Aromatics are essential for developing a robust flavor foundation in any braised dish. Generously use onions, garlic, celery, and carrots not only to enhance flavor but also to enrich the sauce. Browning these vegetables before adding the shank can significantly amplify the dish’s overall flavor profile.
Controlling the Cooking Temperature
It’s crucial to maintain the correct temperature during the braising process. An oven that’s too hot can toughen the meat, whereas too low of a temperature may result in undercooking. Regularly check and adjust your cooking temperature with a reliable oven thermometer to ensure it stays at a gentle simmer.
Deglazing for Flavor Enhancement
Deglazing is key to capturing all the flavorful bits left after searing the shank and cooking the aromatics. Deglaze the pan with a splash of broth or an appropriate non-alcoholic alternative, scraping up the caramelized bits to incorporate them into the braising liquid.
Thickening the Braising Liquid
If the braising liquid remains too runny towards the end of cooking, thickening it can create a richer sauce. Add a cornstarch slurry or a roux made from butter and flour to the liquid, then let it simmer briefly to eliminate any raw flour taste and achieve a silky consistency.
Resting the Meat for Optimal Juiciness
After cooking, let the shank rest in the braising liquid off the heat for at least 10 minutes before serving. This allows the meat to reabsorb some of the juices, ensuring it is moist and flavorful when plated.
These expert techniques will help elevate your culinary skills, enabling you to create impressive dishes that highlight the shank’s versatility and rich flavor.

FAQs About Cooking Shank
How Long Should You Cook Shank?
The cooking time for shank can vary depending on the size and thickness of the cut. Generally, a good rule of thumb is to cook it low and slow. This usually means braising at a low temperature (325°F) for about 2-3 hours. You’ll know it’s done when the meat is fork-tender and easily pulls away from the bone.
Can Shank Be Overcooked?
Yes, while shank is a cut that benefits from long cooking times, there is such a thing as too much cooking. If left in the heat too long, even shank can dry out and become tough. The key is to cook it until it reaches the desired tenderness but to stop before it starts losing moisture and texture.
What Are the Best Herbs and Spices for Shank?
Shank pairs well with robust herbs and spices. Rosemary, thyme, and bay leaves are classic choices that complement its rich flavor. For spices, consider incorporating paprika, black pepper, and a hint of clove to enhance the meat’s natural tastes without overpowering it.
How Can You Ensure Shank Is Tender?
Ensuring tenderness in shank is all about the cooking method and time. Braising is ideal because it allows the tough fibers and connective tissues to break down slowly, resulting in a tender and juicy meal. Additionally, marinating the shank beforehand can also help soften the meat.
What To Serve With Braised Shank?
Braised shank goes well with starchy sides that can absorb the rich sauces it produces. Mashed potatoes, polenta, or a simple risotto make excellent companions. For a lighter option, consider serving it with a side of steamed vegetables or a fresh salad.
Can You Cook Shank From Frozen?
It is best to thaw shank completely before cooking to ensure even cooking and optimal texture. Cooking from frozen can result in unevenly cooked meat, where the exterior is overcooked while the interior remains tough.
Tips for Storing and Reheating Leftover Shank
Preserve leftover shank by placing it in a sealed container in the refrigerator, ensuring it stays fresh for up to three days. To reheat, slowly warm the meat in a covered skillet on low heat, introducing a dash of broth to maintain its moisture. It’s best to avoid using a microwave for reheating, as this method can sap the moisture from the meat and alter its texture.
In the next section, we’ll wrap up our discussion with some final thoughts and serving suggestions to help you make the most out of your braised shank dishes.
Conclusion and Serving Suggestions
Summarizing Best Practices
To recap, cooking shank requires patience and attention to detail. Braising stands out as the ideal method due to its ability to slowly break down the tough fibers, ensuring a tender and flavorful outcome. Remembering key steps such as proper seasoning, searing, and maintaining the right temperature will make all the difference in achieving the perfect braised shank.
Creative Serving Ideas
Once your shank is beautifully cooked, consider how best to present it:
- Classic Plating: Serve the shank over a bed of creamy mashed potatoes or soft polenta, with the braising liquids spooned over the top for extra flavor.
- Innovative Twist: Shred the tender meat and use it as a rich filling for tacos or wraps, adding fresh herbs and a squeeze of lime for a lighter meal option.
- Seasonal Pairings: Match the earthy flavors of the shank with seasonal vegetables. In the winter, root vegetables like carrots and parsnips roasted in the braising liquid can accompany the shank. For summer, lighter sides like a crisp green salad or grilled asparagus make delightful pairings.
Wine Pairings and Non-Alcoholic Alternatives
While the rich flavors of braised shank traditionally pair well with red wines, for those avoiding alcohol, a richly flavored non-alcoholic dark grape juice or a robust herbal tea can complement the meal equally well.
Encouraging Experimentation
Finally, don’t be afraid to experiment with different herbs, spices, and marinades to find what best suits your taste. Each variation can bring out new aspects of the shank’s flavor, making each meal a unique culinary experience. How Many Hours Do You Cook a Chuck Roast?
This guide aims to provide you with all the knowledge needed to master cooking shank. With practice, you’ll find that this underrated cut can be transformed into a variety of exquisite dishes that are sure to impress any diner.


